Upgrade your sales teams to AI-First CRM workflows
A must-have for every organization whose true voice of customer gets totally lost in disconnected sales and support calls
Deploy the ZipAI agent into your processes
Supercharge your sales team and processes with the Zip AI Agent that works like a true teammate— prioritizing leads, forecasting sales, improving sales quality & productivity, sales reporting and insights, automating tasks and devising sales strategies to boost efficiency and revenue.
Find your right customer personas that convert
Ask the Zip AI agent to find customer personas that are converting to make your targetting stronger
Get your team to do highly personalized conversations
Enable your reps to hyper-personalize their conversations basis past customer context
Prioritize prospects with higher buying propensity
Maximize your team's time on prospects' with higher purchase intent and move them faster in the funnel
Automate followups to close deals faster
Ensure every customer request and follow-up actions are completed promptly.
Enhance sales team's pitch on engaging & closing
Make your sales pitch quality aligned to winning behaviors and replicate across the team
Forecast sales early to take timely decisions
Get real-time sales forecasts and analyze the subjective insights to take corrective actions early
Signup to get started with agents for automated lead prioritization and followups.
Why are we a must-have over a legacy CRM?
While others offer generic AI responses, ZipAI taps directly into your organization's reality. Query terabytes of customer conversations, CRM data, and business intelligence in real-time. Get answers grounded in your company's actual experience, with every insight backed by citations to real customer interactions.
Our proprietary just-in-time data curation algorithm handles complex analysis across massive datasets in minutes - something other AI tools can't match. From single conversations to organization-wide trends, ZipAI scales with your needs.
ZipAI's secure environment ensures your data trains models exclusively for your organization. No shared learning, no generic responses - just insights that reflect your unique business reality.
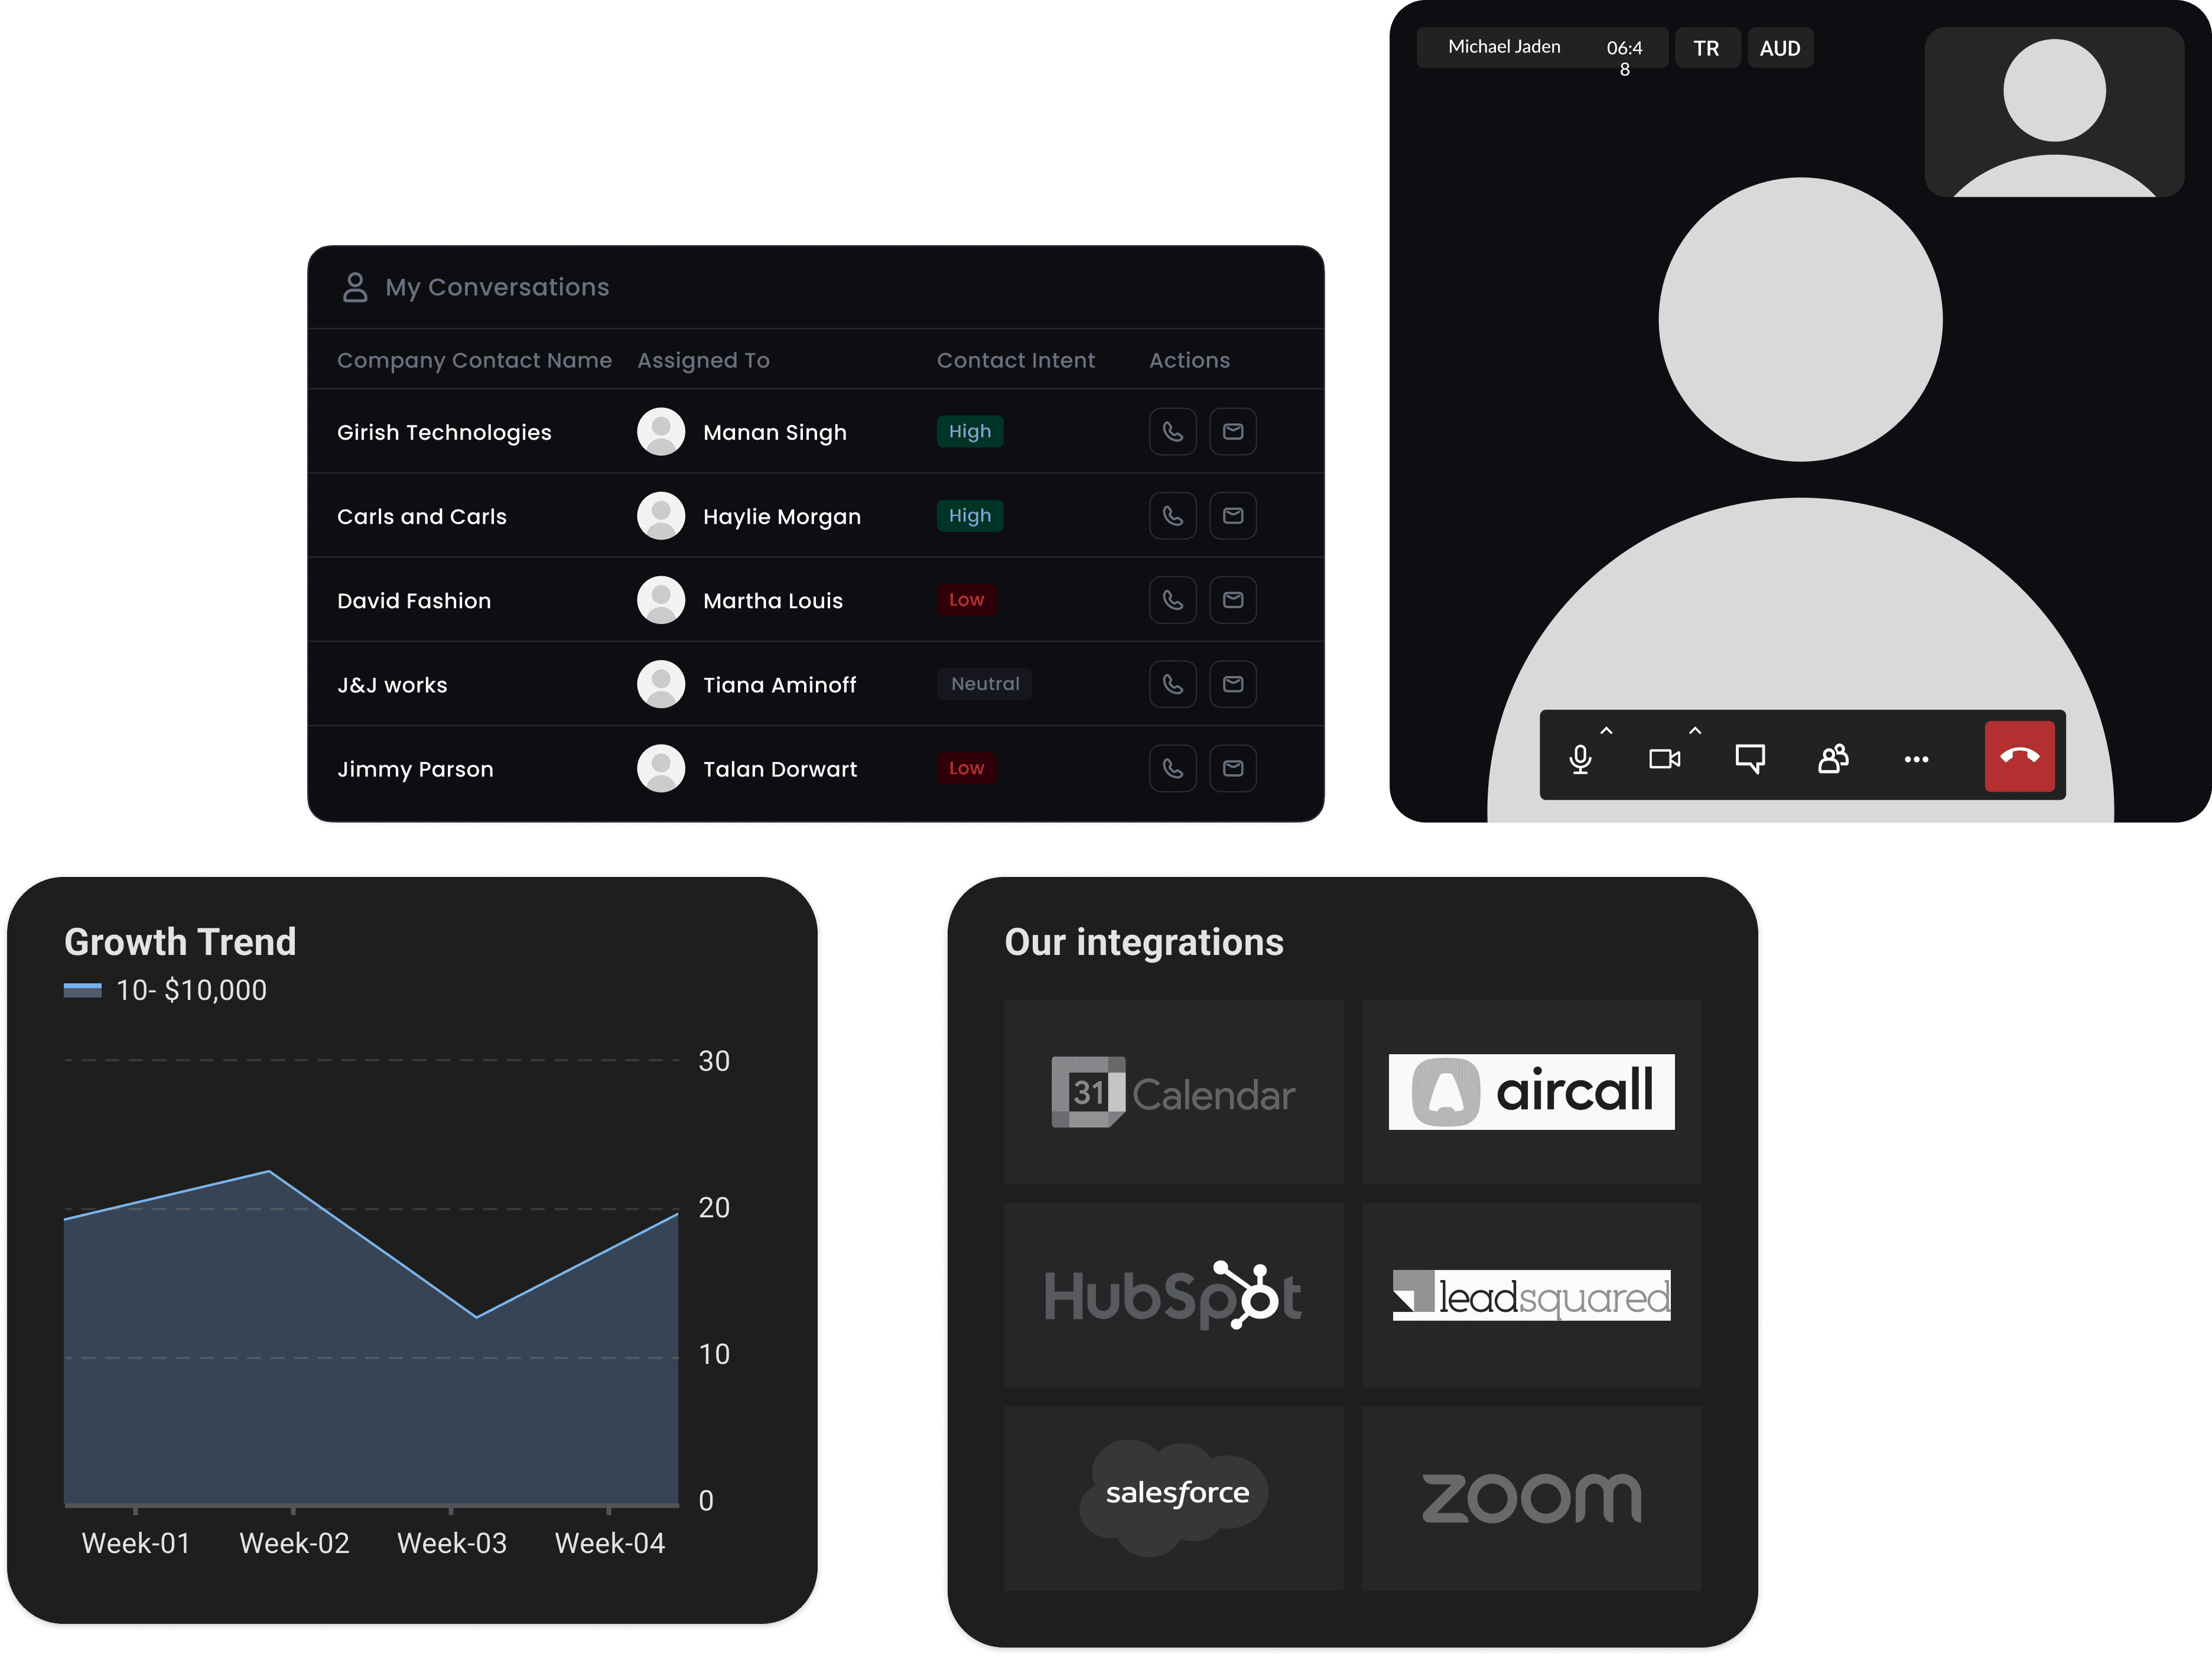
Integrate across your customer interactions
Case studies
Discover how businesses are using Zipteams to unlock sales insights, improve conversions, and streamline CRM workflows. Real results, real impact.
Why move to Zipteams?
Zip AI is being built to imagine the future of sales —It goes deep into your unstructured sources of customer data and turns it into actionable insights that disrupts sales processes from within.
We are looking for enterprises, partners and investors who are visioning their customer lifecycles to be more autonomous than it has been ever.
Connect with us!
Your data has untapped potential. Zip AI makes it easier to track, analyze, and act on insights. Fill out the form, and let’s talk!


